Get It, Before It Gets You
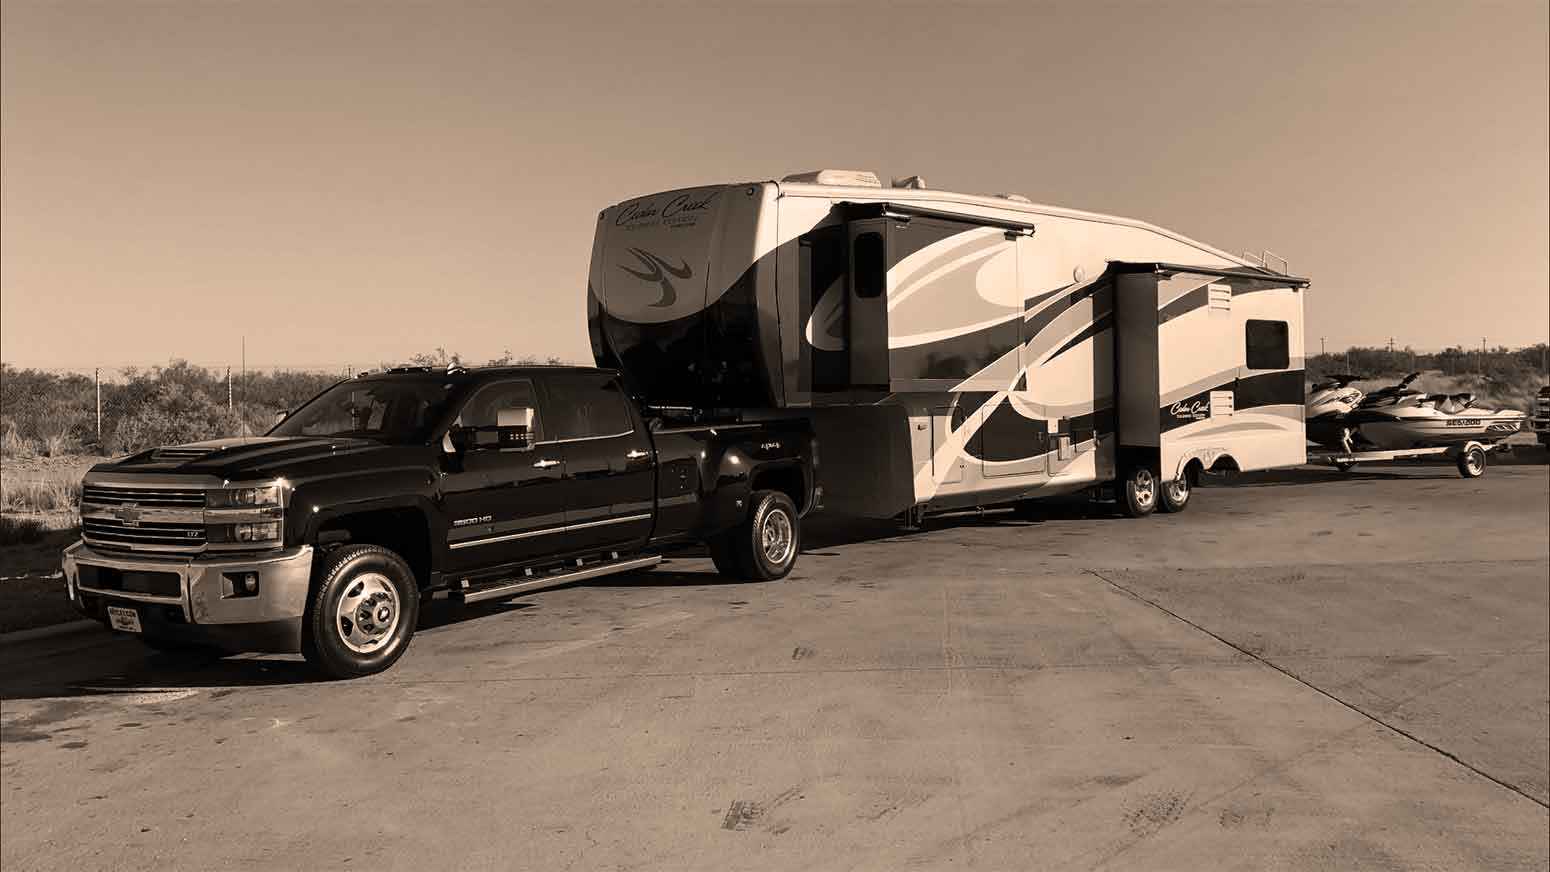
The Cedar Creek by Forest River 34RLSA 5th wheel I call home is a 2012 model, and I bought it from its original owner in 2016. I have no idea how many miles he dragged it around because it was a consignment unit, but from the looks of the coach when I bought it, it was not a lot of towing. The previous owner also did not do the proactive maintenance stuff one should do with these units either. In fact, a lot of people don’t. By proactive maintenance I mean to say, staying a step ahead of the RV. Frankly, and ironically, these things don’t seem to be made to be used a lot, and the heavy use of full-timing and frequent moving exposes its weaknesses pretty quick. And those weaknesses can get pretty costly, particularly when the work performed by others in inferior. Because a good RV technician is really hard to find, I have taken it upon myself to learn as much as I can about this rig. I’m no mechanic by any means, but I have developed a pretty good sense or where my abilities are and DIY all I can, and use a guy I’ve found to be excellent for the things I can’t. One this is for sure, I no longer have nearly the fear about how my RV is constructed, how the things one can’t see without disassembly can be addressed and through the learning process I just have a lot more confidence as I push this rig to its limits pretty much constantly.
Slide Out Rooms
This is particularly true of slide out rooms. My coach has three of them, two in the main cabin area, and one in the bedroom. The two in the main cabin area are “through frame” slides, and the bedroom is an internal slide mechanism. All are hydraulic. Most of the problems I have had with this rig have been involving the two main cabin slides, and in particular the off door side slide which houses the fridge, stove, microwave and TV. Both the main slides are huge, wide, heavy and prone to issues if one does not stay on top of their maintenance and inspect them frequently. The first year I owned the coach, I took slide issues into the dealer. What I realized later is that most RV technicians hate working on slides, probably because they are such a pain, so the repairs were shoddy and shortcuts that only fixed the problem partially, or incorrectly causing more problems later. Because of this experience and the fact that slides are so needy, I have learned all that I can about them. I have a great RV tech in Elephant Butte, NM, Chip, who works on anything outside of my ability, and he lets me watch and help so that I can learn.
The off door slide has been problematic since I’ve owned the rig. Nobody could ever bring it into correct adjustment, it did not seat or seal (when extended or retracted) properly. While extending or retracting it did all sorts of weird things that scared the crap out of me. I had visions that it would one day just fall out of its hole flat on its back. It has been taken to the shop a half dozen times. It would get a little better, than either back to the same and by the end of 2018, worse. So after I wrapped a project in AZ, I headed to Elephant Butte to have Chip take a close look at this slide. By this time, a shaft on one of the gear packs (a gear the extending inner arm rides on) had broken, and the slide had to be pushed out and in manually with shoulders and legs.
 All of my slide mount and movement mechanisms are made by Lippert Components, so I ordered the gear packs from them. Believing it might be time to replace all four gear packs on both main slides, I ordered them all. Once we went to install them, we realized that the mechanism on this slide had been incorrectly modified at some time, and was out of alignment. In the process of trying to properly correct this after installing the gear packs, we broke a tooth on one of the arms of the slide. This is when things got down and dirty – we now had to replace at least an inner arm. We also noticed that the outer arm, which is welded to each side of the frame in the belly of the coach, was bowed, so we decided to replace the entire arm assembly. I contacted Lippert, who were amazing by the way, and ordered all the parts needed to perform the replacement. We also replaced the hydraulic actuator, as it was showing signs of a bad seal.
Chip and his assistant removed the old arm assembly, then we waited on the parts to come in, which took about 12 days. Lippert does not stock most of these parts, when a customer orders them they make them, which takes 5-7 days. When the parts came, Chip began the installation, which took a few days to complete. When finished and after adjustments, we had a slide room functioning normally. After it was all said and done, which also included replacing the wiper/D seals around both the main slides with Trim-Lok RV snap-in seals, this whole 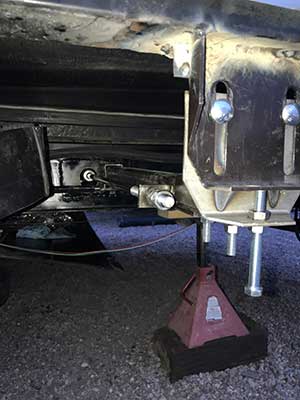 project cost me about $3000. Had this slide been properly diagnosed and worked on when it developed problems years before, we’d be talking about a wiper/D seal replacement only for ~$400, because the components of the slide arms should last a lot longer than 6 years with proper maintenance. Obviously, the moral of the story is proper maintenance and good workmanship when adjustments or repairs are needed. Through the experience of being directly involved in the work Chip did, I now know how to adjust these slides myself. While it isn’t rocket science, it can be very daunting if one has never done it. There are a number of YouTube videos out there on this topic, but it is still scary to DIY the first time, and the videos I’ve found don’t really go beyond adjustment of the actuator nuts and the head plate positioning bolts. For example, if you have a slide needs adjustment beyond the what the slots on the head plate has left on one arm or the other (on the slide assembly type I have), you have to drop a gear pack and line the slide up evenly by adjusting the horizontal shaft and then bolt the gear pack back in. This requires a heavy duty hydraulic jack to raise one end of the slide up and off the gear pack.
Suspension
My rig has two axles, and as of the end of 2018, had the stock equalizers between them on both sides. The rubber bushings in the equalizers were brittle and cracking and probably a few hundred miles away from falling apart. One of my favorite YouTubers, Keep Your Daydream, did a video on replacing the equalizers with a MORryde SRE4000 kit. The reviews on these were excellent and I had already trusted the MORryde brand. KYD is based in AZ, and they had their suspension work done at Cliff’s Welding in Mesa, AZ. I was in Mesa on a work assignment in January of 2019 and decided to have the work done at Cliff’s as well. I also had them “box” the shackles to strengthen them and had “wet bolts” installed on the suspension. Cliff’s did an amazing job, and all in one day. Because the MORryde suspension technology is so great, I don’t hear any of the squeaking or popping from the axles any more, and the unit just rides softer. I’ve pulled it over 5K miles since then, and so far, so good.
Tires
My unit came with four E-rated tires, and for the first 10K miles of use I had no problems with them, even while hauling a jet ski trailer behind the 5th wheel. But then, I had a series of blowouts which I now attribute to the basic life span of an E-rated trailer tire with heavy use. So, after talking to a lot of tire experts, and of course watching some YouTubers, I decided to upgrade to a G-rated 14-ply trailer radial tire on all four wheels. I purchased them from eTrailer online and had them mounted while I was still in New Hampshire in March of 2018. I have pulled my rig roughly 12K miles since then, and the tires still look brand new. And, knock on wood, no blowouts.
While having the suspension work done at Cliff’s Welding, I also had them install a TireMinder tire pressure and temperature monitoring system on the truck and trailer, so I can more easily and in real-time stay on top of the tires. This kit has worked very well, and I recommend it to anyone doing a lot of hauling, and also boondocking, where tires are more vulnerable. If you have a big rig, be sure to get the signal extender kit.
Wrap up
These are just several areas I have addressed over the past 3 years of full-time RVing, there are many others I’ll post later. No one knows better than I the challenges of keeping these rigs moving, but with an approach of good inspection, routine maintenance, beefing up areas where the manufacturer went cheap, and just plain common sense, it isn’t too challenging. I’ve grown to enjoy keeping up with the rig and have a low amount of fear as I push this thing to its limits. Things will come up, and they will be untimely! I try to stay prepared – and stay a step ahead of the RV! ![]()
Hey Curt, that was a good article and very helpful to me. Oh btw I was parked next to you in a Mobile Suites fifth wheel for a night At Lubbock RV Park May 12. I have had the same problems with our slides which are Lippert hydraulics also.